Create a Docker Compose template
In this section, we'll create a template using Docker Compose that describes our applicaiton configuration. Uffizzi uses Docker Compose as its configuration format because it is relatively simple and widely used by developers.
Note
Uffizzi supports a subset of the Compose specification. For a full list of supported keywords, see the Uffizzi Compose file reference.
Configure your Compose to dynamically update image definitions
The Uffizzi environment creation step typically executes at the end of a CI pipeline after a series of steps that are triggered by an event, such as a pull request or new commit. If you don't have an existing CI solution, Uffizzi CI can build your application from source and store your container images for you (Note: Your source code must be stored in a GitHub repository to use Uffizzi CI). Alternatively, if you're using an external CI service, such as GitHub Actions or CircleCI, you will need to tell Uffizzi where your images are stored and how to access them.
Each time your CI pipeline builds and pushes new images, Uffizzi needs access to them. This means that we need to dynamically update our compose file service definitions with the new image names and tags each time our pipeline runs. To do this, we'll follow one of two methods, depending on which CI solution you choose:
-
External CI - If you're using an external CI provider such as GitHub Actions or GitLab CI, you can use variable substitution to pass the output from your CI build step, i.e.
image:tag, to your Compose fileimagedefinition (See highlighted example below). This solution is discussed in detail in the next section. -
Uffizzi CI - If you want to use Uffizzi CI, you can simply define a
buildcontext that points to your source code repository on GitHub and let Uffizzi handle building and tagging images and updating your Compose. See the Uffizzi Compose file reference forbuildandcontextdetails.
services:
  app:
    image: "${APP_IMAGE}"    # Output of build step stored as environment variable
    environment:
      PGUSER: "${PGUSER}"
      PGPASSWORD: "${PGPASSWORD}"
    deploy:
      resources:
        limits:
          memory: 250M

  db:
    image: postgres:9.6
    environment:
      POSTGRES_USER: "${PGUSER}"
      POSTGRES_PASSWORD: "${PGPASSWORD}"
Define an Ingress for your application
Whether using Uffizzi CI or an external CI provider, Uffizzi needs to know which of your application services will receive incoming traffic. This "Ingress" is an HTTPS load balancer that will forward HTTP traffic to one of the defined services. Along with the service name, you must indicate on which port the target container is listening. The ingress must be defined within an x-uffizzi extension field as shown in the example below:
# This block tells Uffizzi which service should receive HTTP traffic.
x-uffizzi:
  ingress:
    service: app
    port: 80

# My application
services:
  app:
    image: "${APP_IMAGE}"    # Output of build step stored as environment variable
    environment:
      PGUSER: "${PGUSER}"
      PGPASSWORD: "${PGPASSWORD}"
    deploy:
      resources:
        limits:
          memory: 250M

  db:
    image: postgres:9.6
    environment:
      POSTGRES_USER: "${PGUSER}"
      POSTGRES_PASSWORD: "${PGPASSWORD}"
Add secrets in your CI platform (optional)
You may also want to move sensitive information like credentials out of your Docker Compose file before commiting it to a remote repository. Most CI providers offer a way to store secrets and then reference them in the steps of your pipeline. To do this, we'll follow one of two methods, depending on which CI solution you choose:
- External CI - If you're using an external CI provider, you can store the secrets using your provider's interface and then reference them via variable substitution within an
environmentdefinition (See highlighted example below). This solution is discussed in detail in the next section.
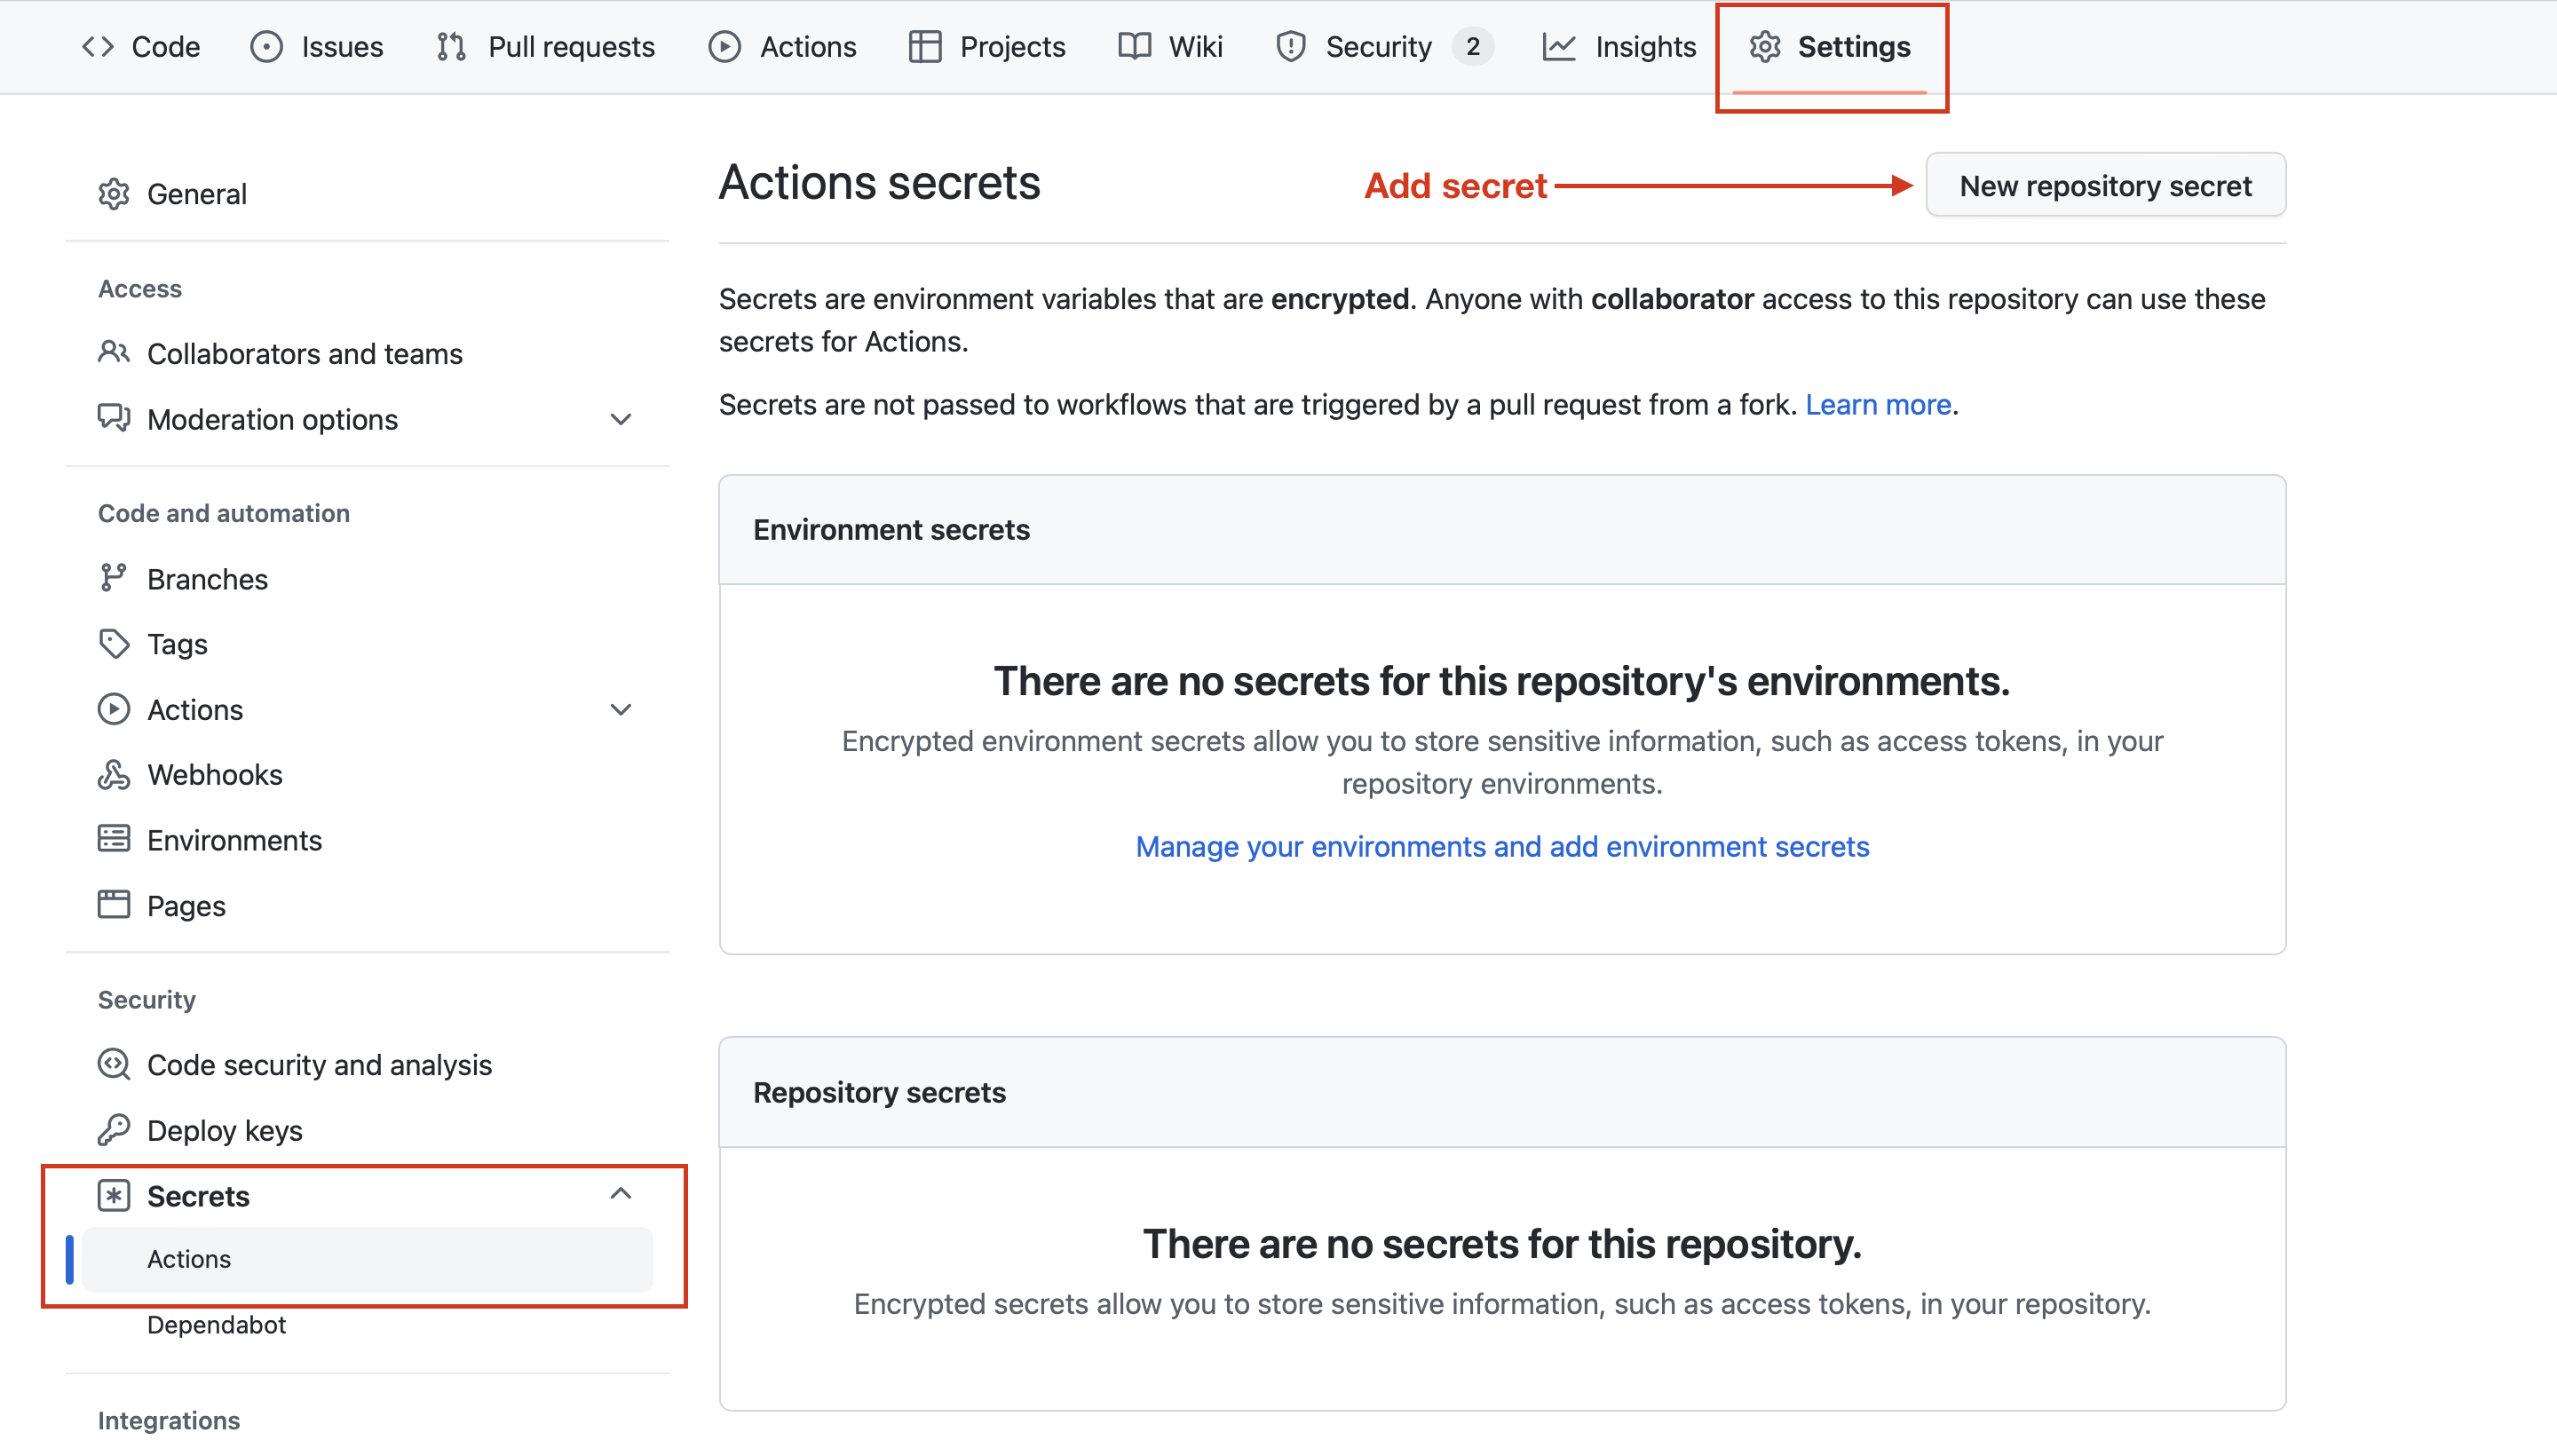
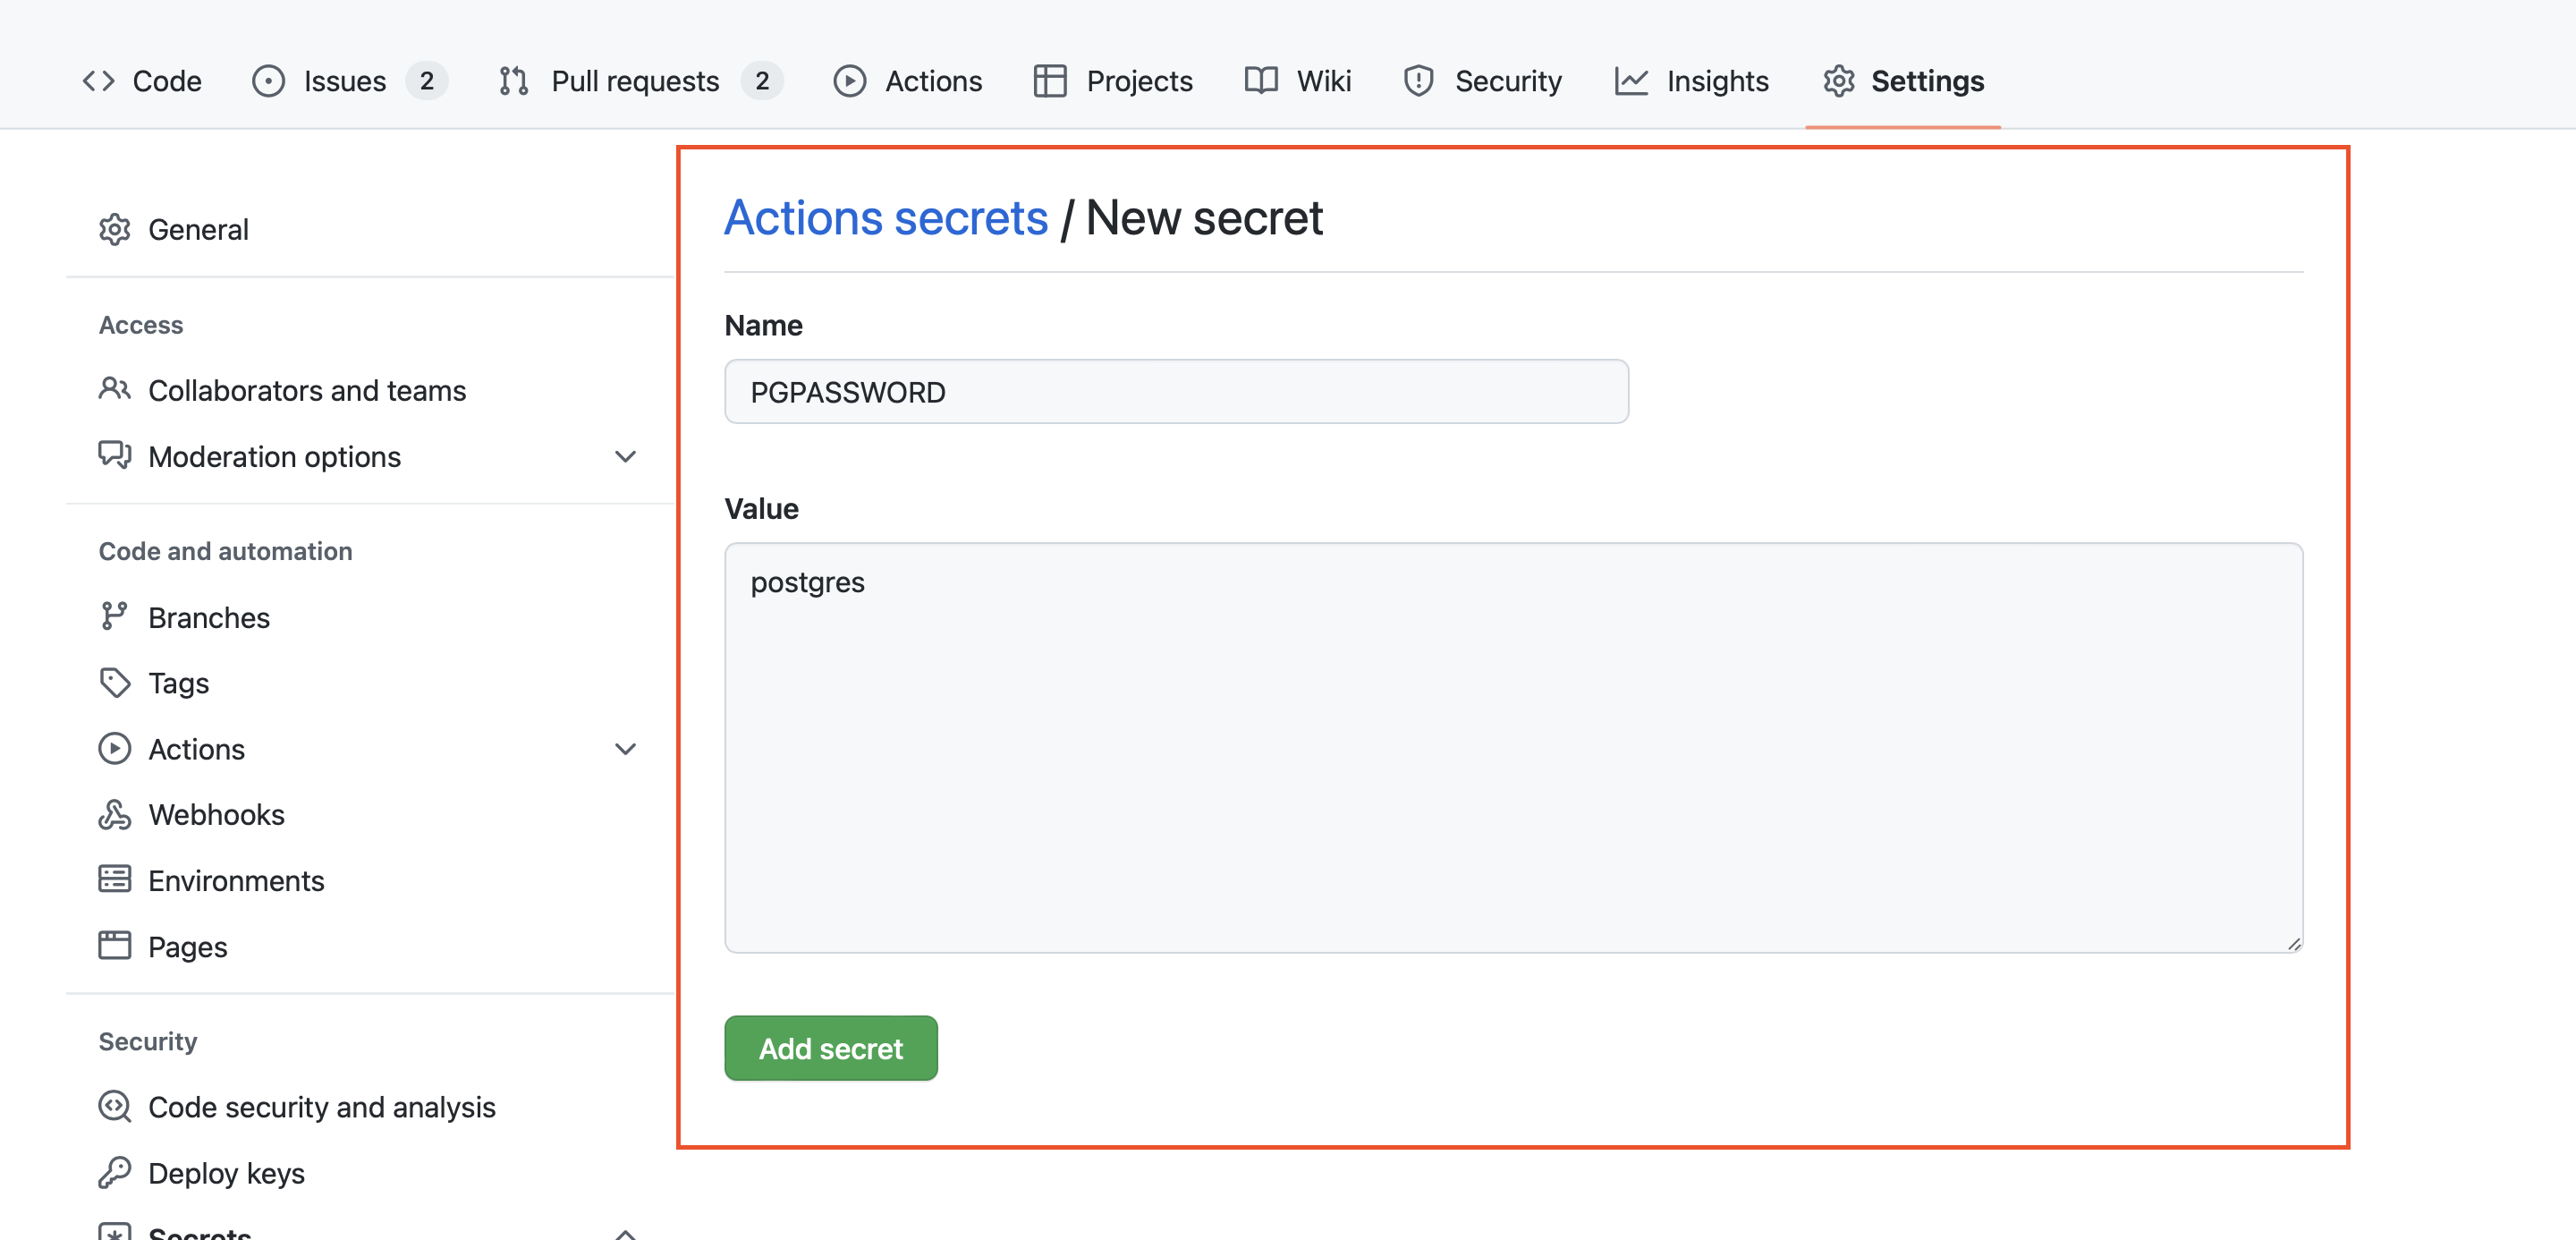
GitHub Actions example
In GitHub, navigate to your repository, then select Settings > Secrets > Actions > New repository secret. Alternatively, you can [use the GitHub CLI](https://cli.github.com/manual/gh_secret).
- Uffizzi CI - If you want to use Uffizzi CI, you can create read-only secrets in the Uffizzi Dashboard web interface (this process is described in detail in Section 3), then reference them using the
externalkeyword, as shown below. For details onsecretsandexternalconfiguration options, see the Uffizzi Compose file reference.
# This block tells Uffizzi which service should receive HTTPS traffic
x-uffizzi:
  ingress:
    service: app
    port: 80

services:
  app:
    image: "${APP_IMAGE}"    # Output of build step stored as environment variable
    environment:
      PGUSER: "${PGUSER}"
      PGPASSWORD: "${PGPASSWORD}"
    deploy:
      resources:
        limits:
          memory: 250M

  db:
    image: postgres:9.6
    environment:
      POSTGRES_USER: "${PGUSER}"
      POSTGRES_PASSWORD: "${PGPASSWORD}"
# This block tells Uffizzi which service should receive HTTPS traffic
x-uffizzi:
  ingress:
    service: app
    port: 80

services:
  app:
    build:
      context: https://github.com/example/app
      dockerfile: Dockerfile
    secrets:
      - pg_user
      - pg_password
    deploy:
      resources:
        limits:
          memory: 250M

  db:
    image: postgres:9.6
    secrets:
      - pg_user
      - pg_password

  secrets:
    pg_user:
      external: true
      name: "POSTGRES_USER"
    pg_password:
      external: true
      name: "POSTGRES_PASSWORD"
Commit your template to your repository
Once you're finished creating your Docker Compose template, commit it to your repository and push.